
AvoMap Help Center
5 min read
Camera
In short
- Height, tilt and direction set the frame; the preset sets how the camera moves.
- One preset runs for the whole video, and the per-segment framing shapes it leg by leg.
- For exact control at an exact moment, switch to keyframes.
On this page
The Camera decides how your video feels. It's the difference between a calm, steady overview and a dynamic, cinematic flyover. In the Camera tab you set where the camera sits, where it looks, and how it moves as your route plays.
Everything here happens in 3D, so you can swoop over mountains, tilt down onto a city, or pull back for a bird's-eye view.
Framing: height, tilt, and direction
Three simple settings control the basic shot:
- Zoom – how high the camera sits above the ground, measured in kilometres. Low feels close and immersive; high gives an overview.
- Pitch (tilt) – how much the camera looks down at the ground. Straight down is map-like; a low tilt shows the horizon and feels cinematic.
- Bearing (direction) – which way the camera faces, like a compass heading.
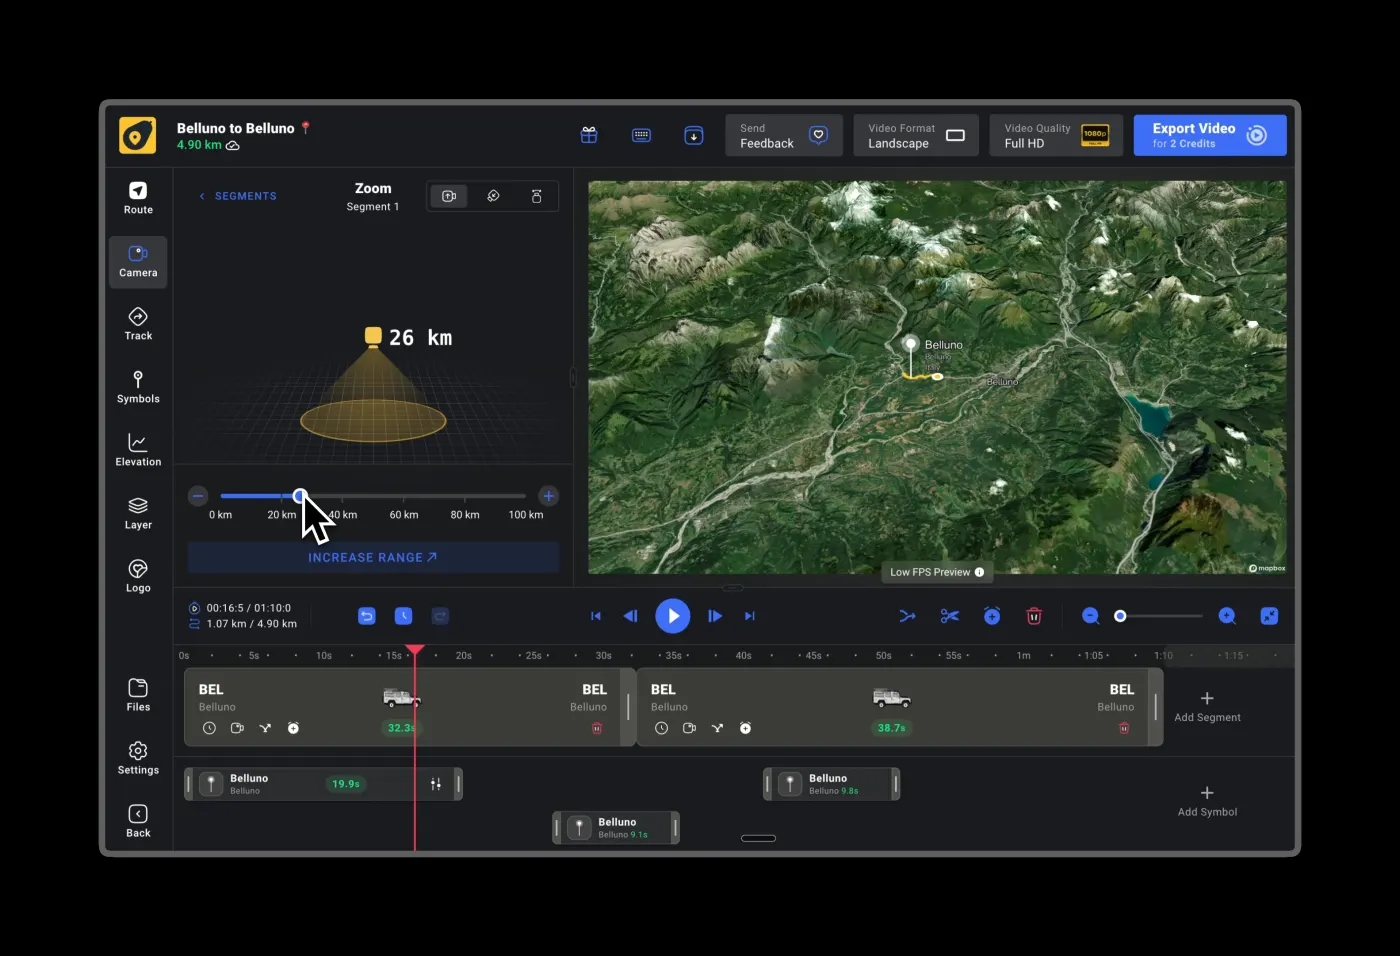
You can set these for each segment of your trip. For example, start the first leg zoomed in and close, then pull back and tilt down for the next. AvoMap smoothly glides between the two, so the change looks effortless.
Camera presets
Each preset is a different way of moving the camera as your route plays. You pick one preset for the whole video — it sets the overall movement style from start to finish, the same across every leg of the trip. The preset defines the motion; the per-segment Zoom, Pitch, and Bearing from above shape the framing within that motion. In the editor you can hover (or tap) any preset to see a short preview — the same clips are shown below.
True North
The map stays locked with north at the top for the whole video. The camera still travels to keep your route in frame, but it never spins around — so viewers always keep their bearings. It's the calm, map-like look, ideal when orientation matters more than drama.
Cinematic Flyover
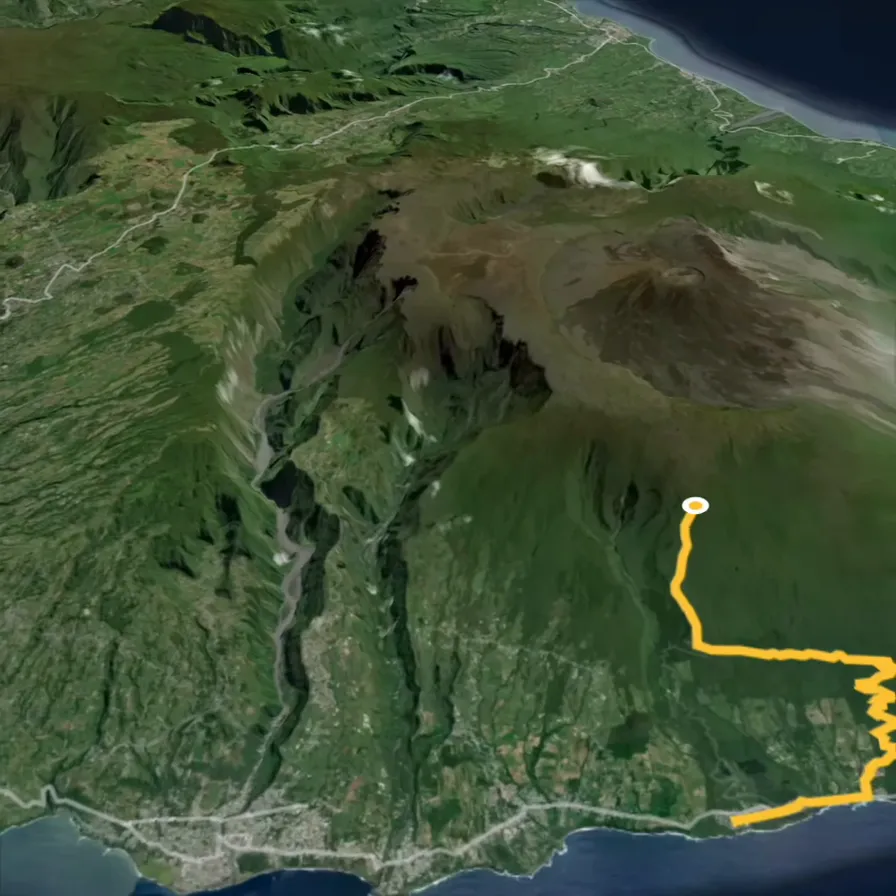
The camera flies along just behind the vehicle, looking ahead in the direction of travel and swooping over the terrain. This is the classic, immersive "fly-along" and the best all-round choice for most trips — it's the default for good reason.
Scout Ahead
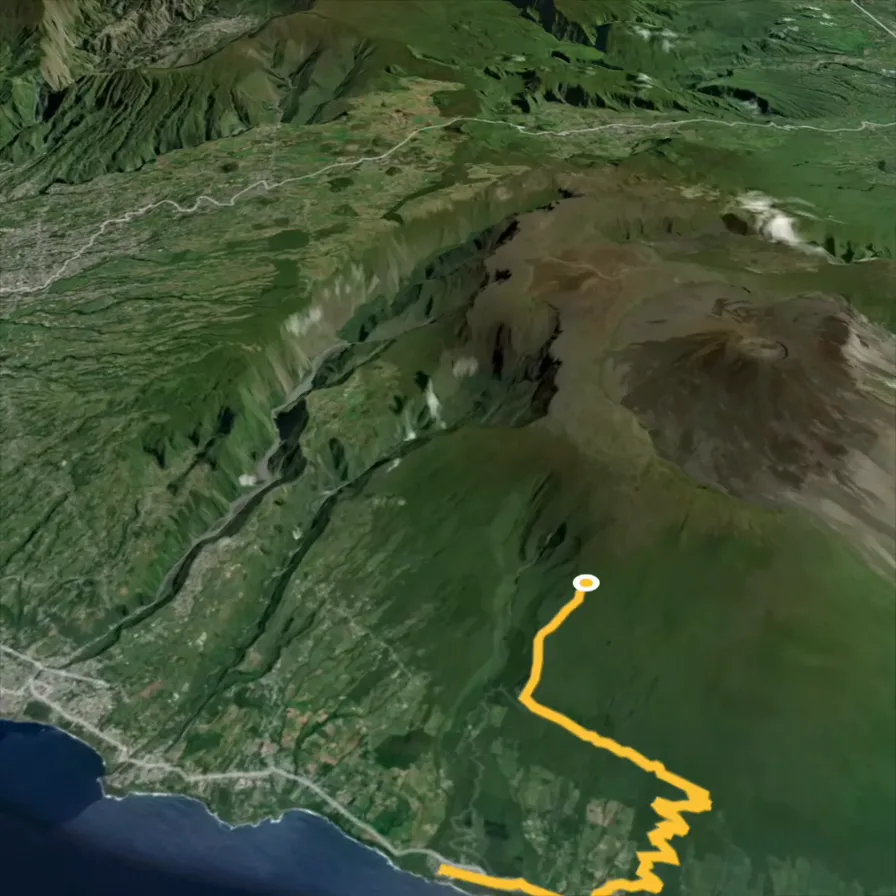
The camera leads the way, looking further down the path at what's coming rather than where you are right now. It gives a forward-scouting, anticipation-building feel that suits fast journeys and big reveals.
Parallel Drift
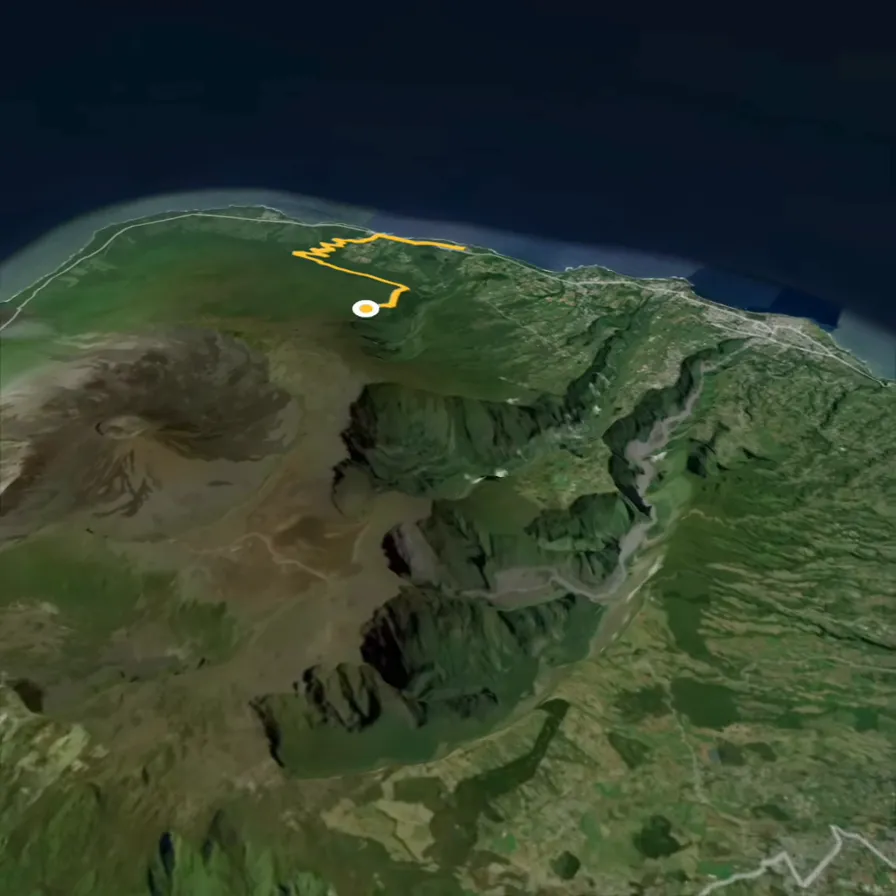
The camera glides alongside your route from the side, like filming from the next lane over. It's a relaxed, elegant motion that shows off the landscape beside the path. You can choose which side it drifts on — left or right.
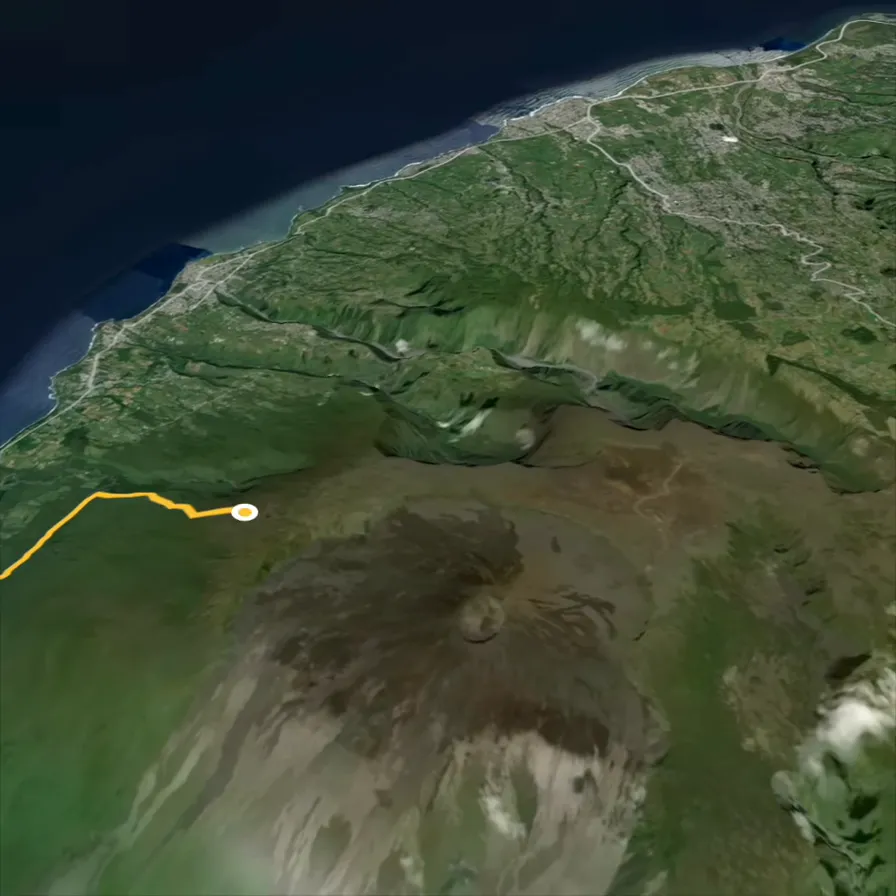
Orbit Around
The camera continuously circles the vehicle as it travels, revealing the surroundings from every angle. You control the direction (rotate left or right) and the speed — from a gentle half-turn up to one-and-a-half full rotations over the course of the video. It's the showpiece move for a hero destination.
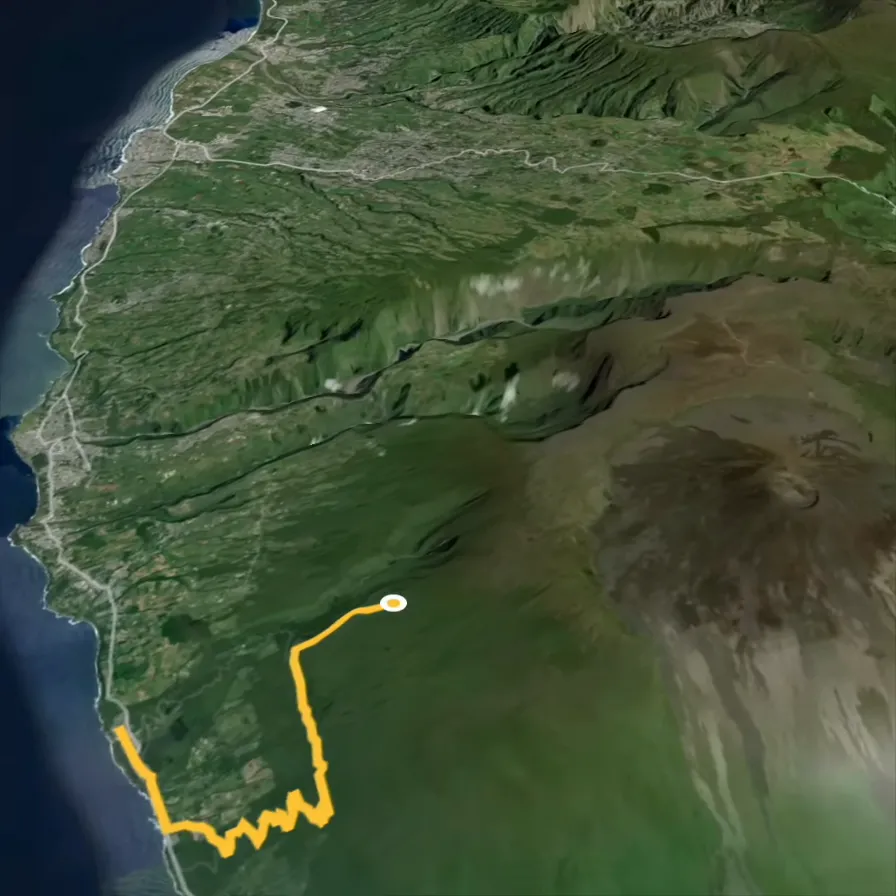
Fixed Position
The camera holds a single spot while your route moves through the frame — like a locked-off establishing shot. You pick the point it watches: the centre of the route, its start or end, or any custom point you click on the map. You can even have it slowly orbit that fixed point for a subtle bit of motion.
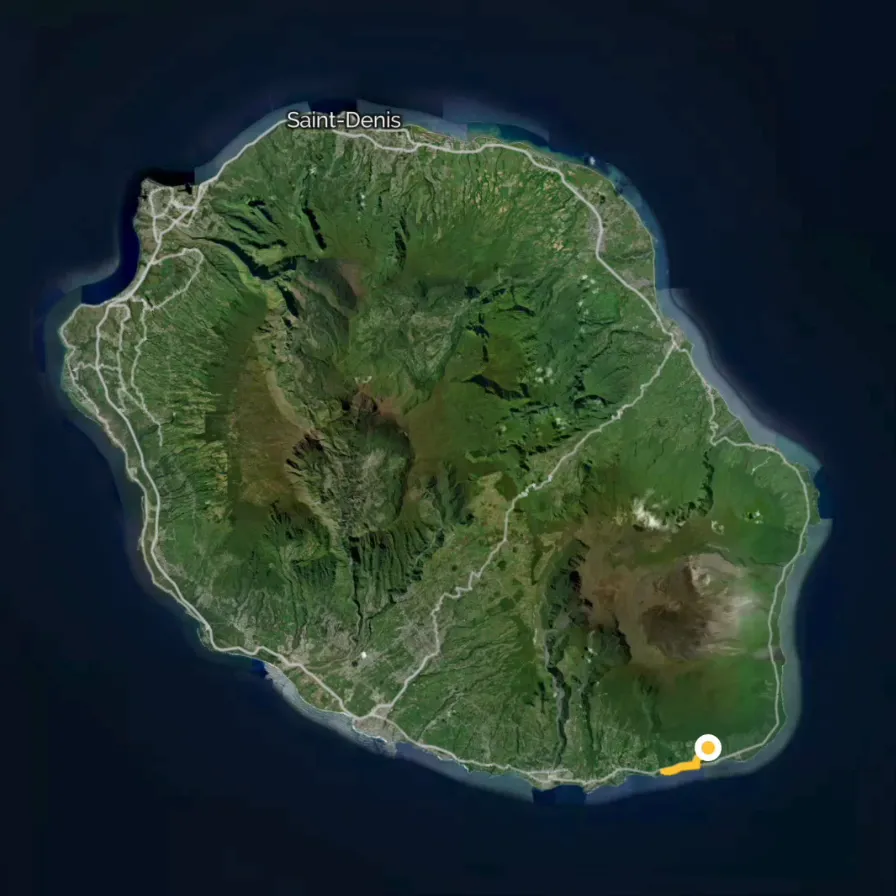
Full camera control: keyframes
When a preset isn't enough, switch to Custom Keyframes for complete manual control. Instead of a preset motion, you place the camera yourself at points along the timeline — its position, height, tilt, and bearing — and AvoMap smoothly animates between them. It's the most powerful (and most involved) way to move the camera, so it has its own guide: see Camera Keyframes.
Smoothness of the flight
AvoMap plans a camera flight automatically based on the shape of your route. By default it's very smooth, gliding over the overall path rather than reacting to every twist and turn.
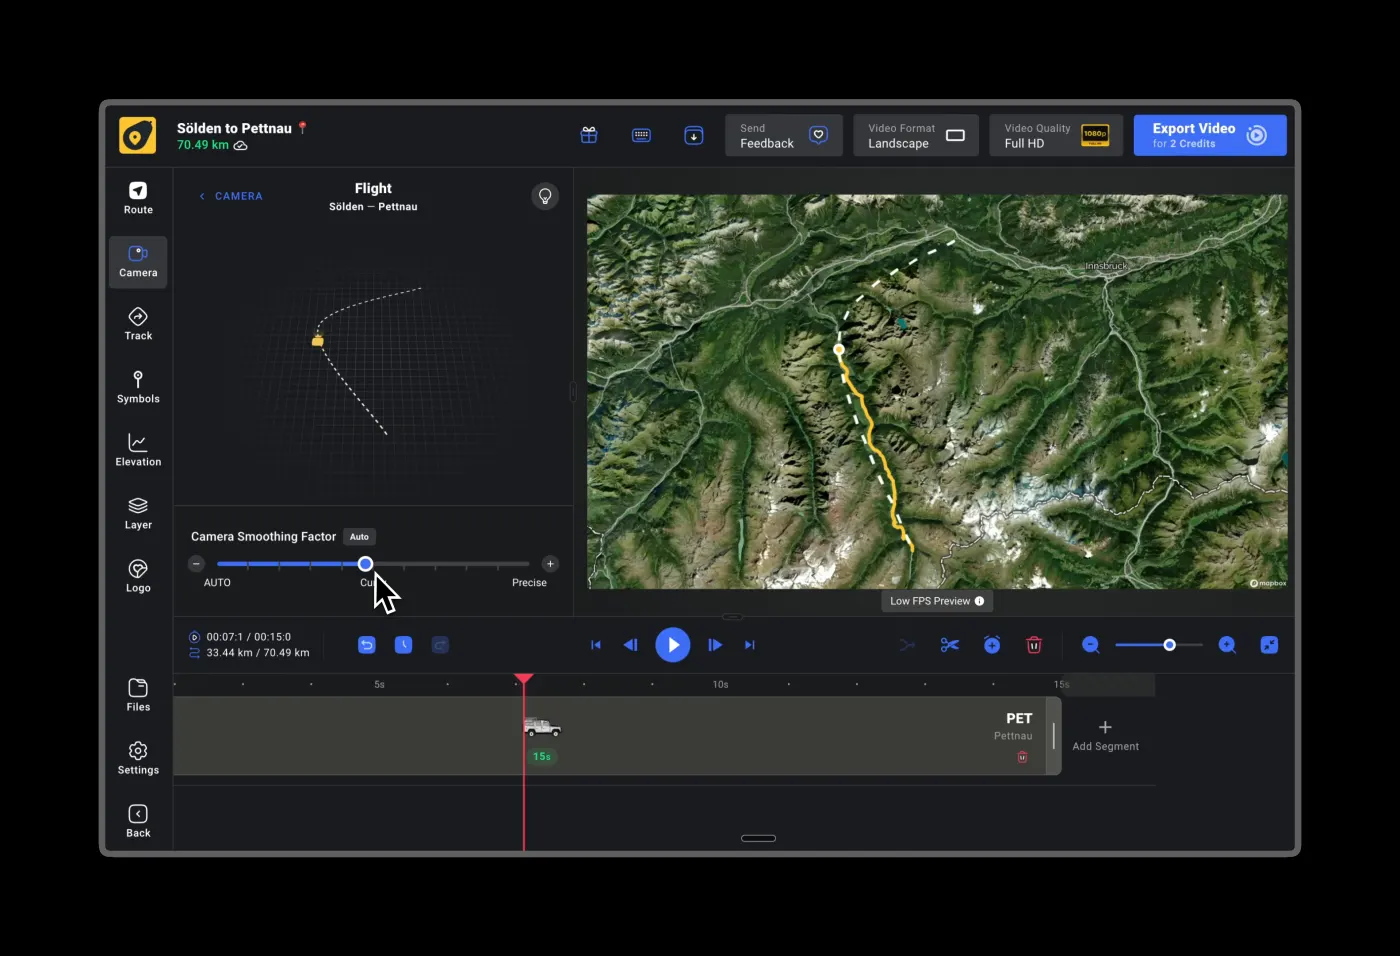
You can make the camera hug the route more closely if you want it to trace every bend. Just keep in mind: the more closely it follows — especially when zoomed in — the more energetic (and sometimes hectic) the movement becomes. When you adjust this, a dotted line appears in the preview showing you the camera's path.
Cinematic intros and outros
Give your video a polished opening and ending with a fly-in and fly-out:
- Start high above the map and swoop down to your route.
- Rise up and pull away at the end for a satisfying finish.
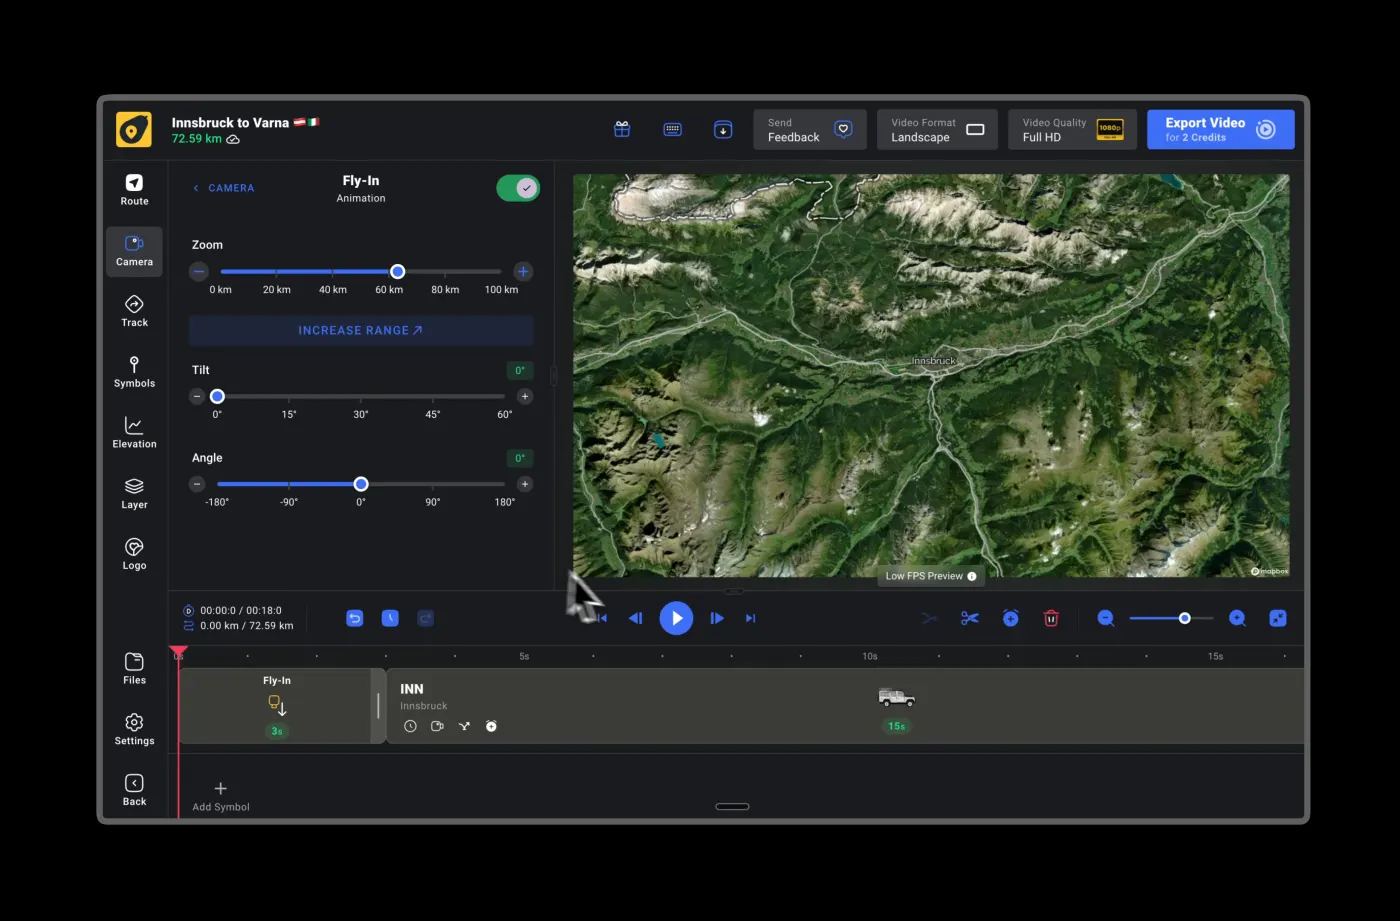
These set the scene at the start and let the story breathe at the end.
Cinematic Hold
A fly-in doesn't have to be moving the whole time. Cinematic Hold splits the segment between a still shot and the flight, so the camera can sit on the view for a moment before it drops in — or land on it at the end.
Pick the fly-in or fly-out in the Camera tab and open Cinematic Hold. The slider sets how much of that segment stays still, up to 80% of its length, and a small chart shows you the split. The still part comes first on a fly-in, so the opening frame has a beat before anything moves. On a fly-out it comes last, so the video ends on the view rather than on the motion.
Set it to None and the segment flies for its whole length, the way it did before you touched it.
Fine-tuning the frame
- Offset – nudge the camera slightly so your route or a title sits exactly where you want it in the frame, without changing the overall direction.
- Hold on pauses – when your trip includes a pause, you can keep the camera perfectly still during it, the same way Cinematic Hold works on a fly-in. This is ideal for lingering on a summit, a landmark, or a marker without any camera motion.
Tips
- Start simple. The default Cinematic Flyover with a slight downward tilt looks great and is hard to get wrong.
- Slower reads better. Big, slow moves feel cinematic. Fast, tight moves can feel jittery.
- Match the mood. Orbit Around suits destinations, Scout Ahead suits fast journeys, and True North suits clear, informative maps.
- Pair it with the rest. A camera move works best alongside a well-styled route line and vehicle, timed to the beats you set on the timeline.
Frequently Asked Questions
How do I make the camera follow my route?
In the Camera tab, pick the Cinematic Flyover preset. The camera flies along just behind the vehicle for an immersive fly-along feel — it's the default movement style.
Why does my camera movement look shaky or hectic?
Usually the camera is tracing the route too closely or moving too fast. Set the Camera Flight Path towards Smooth and give each part of the trip more time on screen so the moves feel smooth and cinematic.
Can I add a cinematic intro and outro?
Yes. Add a fly-in to swoop down to your route at the start, and a fly-out to rise up and pull away at the end. Cinematic Hold then decides how much of that segment holds still before the camera moves.
How do I hold the opening shot still before the camera flies in?
Pick the fly-in in the Camera tab and open Cinematic Hold. The slider sets how much of the segment stays still — up to 80% — and the camera flies for the rest. On a fly-out the still part comes at the end instead.
How do I keep the camera still on a special spot?
Add a pause to your trip on the timeline, then set the camera to hold still during it — perfect for lingering on a summit, landmark, or marker.
Where to go next
Was this page helpful?